
Makear Gel&Go is designed for technicians who need speed, structure, and consistency in everyday salon services. Its controlled, self-levelling behavior supports both natural nail strengthening and structured extensions, making it a reliable choice for high-performance workflows.
This guide focuses on correct application, helping you work faster while maintaining durability and clean results.
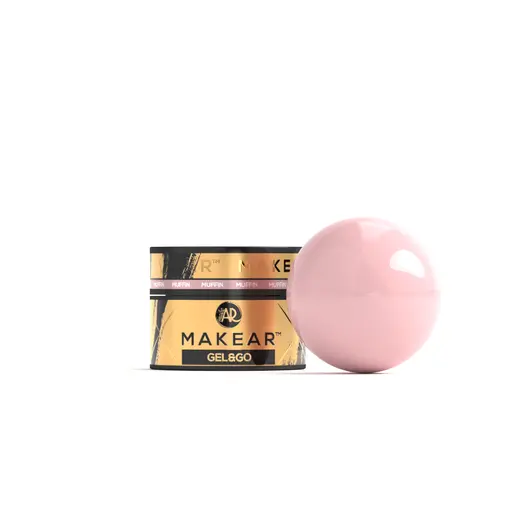
Explore Gel&Go at:
https://www.makearme.com/shop/category/makear-gel-256
Step 1: Nail Preparation (Non-Negotiable)
Long-lasting results always start with correct prep.
Prepare the nail plate
- Remove previous product completely
- Push back cuticles gently
- Lightly buff the nail surface to remove shine
Dehydrate
- Apply nail dehydrator to eliminate moisture and oils
Prime (if needed)
- Use primer for clients prone to lifting or oily nail plates
Skipping or rushing prep is the most common cause of lifting — especially in fast salon work.
Step 2: Base Layer Application
The base layer anchors the structure.
- Apply a thin, even layer of Gel&Go
- Keep product away from cuticles
- Cap the free edge
Cure
- LED: 30–60 seconds
- UV: 90–120 seconds
Follow curing times according to your lamp’s wattage.
Step 3: Building with Gel&Go
This is where Gel&Go delivers efficiency.
Application
- Place a controlled bead in the center of the nail
- Guide product toward the sides and free edge
- Let the gel self-level — avoid overworking
For natural nail strengthening
- Apply a thin overlay
- Create a subtle apex for durability
- Cure fully
For extensions
• Work with forms or tips
• Build structure gradually from the apex
• Cure after each layer
Thin, controlled layers cure faster and prevent bubbles or uneven structure.
Step 4: Shaping & Refining
After full curing:
- Refine shape using a 180–240 grit file
- Smooth lightly with a buffer
Minimal filing is usually required when Gel&Go is applied correctly.
Step 5: Colour or Design (Optional)
Gel&Go works seamlessly under:
- Gel polish
- Foil Gel effects
- Layered builder techniques
Apply decorative products according to their specific instructions and cure fully.
Step 6: Top Coat & Final Cure
- Apply gel top coat
- Seal the free edge
Final cure
- LED: 30–60 seconds
- UV: 90–120 seconds
Remove any inhibition layer if required.
Pro Tips for Faster Salon Services
- Work in thin layers for faster curing
- Keep product centered to avoid cuticle flooding
- Use a reliable UV/LED lamp
- Always cap the free edge
- Maintain clean tools for predictable results
Speed comes from control, not rushing.
Common Mistakes to Avoid
- Incomplete nail prep
- Overloading gel in one layer
- Touching cuticles with product
- Under-curing due to low lamp power
Each of these leads to lifting or premature wear.
Client Maintenance Guidelines
Advise clients to:
- Use cuticle oil daily
- Avoid using nails as tools
- Minimize chemical exposure
- Book refills every 2–3 weeks
Proper aftercare extends wear and protects the natural nail.
Why Gel&Go Fits Professional Workflows
Gel&Go supports:
- Busy salon schedules
- Structured overlays and extensions
- Clean, predictable finishes
- Efficient service timing
It delivers professional results without slowing down the appointment.
Explore the full Makear Gel range here:
https://www.makearme.com/shop/category/makear-gel-256
Final Takeaway
Gel&Go is most effective when applied intentionally and correctly. With proper prep, controlled layering, and correct curing, it enables:
- Faster services
- Strong, durable nails
- Consistent salon-quality results
Master the technique, and Gel&Go becomes one of the most efficient tools in your professional kit.